The Importance of Mastering Lighting for Video Production

Whether you're a budding Spielberg, a content connoisseur, or just a video virtuoso, let's shed some light on the captivating world of… lighting.
Wielding the power of light like a wizard allows your visual creations to shine a bit brighter (or more dramatic if that’s what the mood requires).
Understanding the Basics
Before we dive headfirst into the luminous abyss, let's start by shedding some light on the basics. Color temperature and light direction are the dynamic duos you need to befriend.
Color temperature determines the vibes your lighting will exude, whether it's cozy warmth or chilling coolness.
Generally, there are two colors we work with the most. Daylight, which looks nice, cool, bright white is how to match lighting to the sun.
Tungsten is when things get a bit warmer and more yellow. In either case, we try to match off of the lighting to one of these two options, unless we’re choosing to get playful.
For example, we could opt for mix lighting if we want to light our characters daylight and let practical tungsten lights pop in the background. The blues and yellows can add a nice visual contrast.
Onto light direction. It's like the director of your video's visual symphony, shaping the look and feel of each scene. Most often, we use lighting to fill the space, key a subject, wrap their face, and add separation from the background.
However, the lighting direction depends on the tone of the story. More drama? You might want harsh split lighting and less light in the space. That commercial look? A high-key with lots of fill.
The temperature, size, and placement of your lights is key to creating the visual that’s floating around in your head.
Think of it as your personal lighting maestro, creating captivating shadows and highlights that'll leave your viewers in awe.
Setting the Mood
Lighting isn't just about illumination; it's about creating an experience. You're the director of your video's emotional rollercoaster, and lighting is your secret weapon.
Soft, diffused lighting can transport your audience into dreamland, while dramatic lighting can crank up the tension and keep them on the edge of their seats. With a flick of the switch (it’s more complicated than that), you have the power to evoke emotions and take your viewers on an unforgettable journey.
It’s important to have references in mind and work with someone that understands how to manipulate light. While expensive lighting and professional gaffers help to make things easier, you can also accomplish a lot with DIY resources if you understand how light works, how your camera interprets the light, and how color grading can amplify it all.
Playing with Shadows and Highlights
It's time to add some depth and intrigue to your visual masterpiece. Shadows and highlights are the Yin and Yang of lighting, working in harmony to create mesmerizing compositions.
Soft shadows caress your subjects with a gentle touch, while bold and striking shadows add drama and intensity. Negative fill, a black fabric that doesn’t bounce light, is a great tool when shadows are important, but there’s a lot of uncontrollable light around.
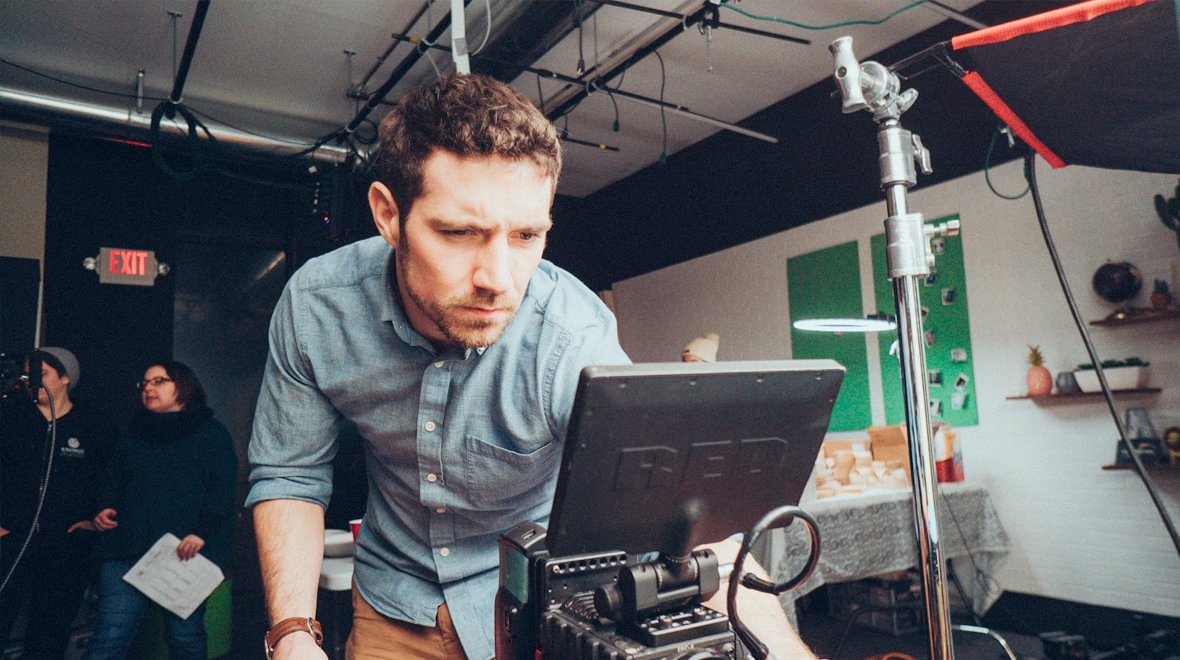
Highlights, on the other hand, accentuate the brilliance and draw attention to specific elements. Using zebra and false color within your monitor allow you to control your ratios to make sure the camera is seeing what’s in your head (and your highlights aren’t overexposed).
Get creative with your lighting angles and distances, and let the interplay of light and shadow dance on your canvas. These decisions don’t just impact how the footage looks, they help guide the viewer on how to feel and where to look.
Harnessing the Power of Diffusers and Reflectors
Diffusers are like the fairy godmothers of lighting (no they’re not, but it sounded fun), waving their wands to soften and spread harsh light Reflectors, on the other hand, bounce light back onto your subject, illuminating them to wrap light from all the right angles. With diffusers and reflectors in your toolkit, you have the power to control and shape your lighting like a sorcerer controlling the elements.
Equipment Considerations
Different lighting gear has its quirks and limitations, but fear not, brave human!
It’s easy to spend a lot of money on lighting. So slow down. Think through your most frequent shoots and let that guide your decisions. Often, you're better served having a few high quality tools that you use all the time than a ton of cheaper solutions that you have to remember how to use when you pull them out of a bag.
When we’re on the road, or tackling a bigger project, we often throw our own lights aside and let a gaffer use the tools he is most comfortable with to execute our vision.
Our own set of equipment has evolved to embrace more LED lighting options through the years. They are cost-effective, flexible, energy efficient, and the lighting quality has dramatically improved.
It’s great to have:
One (or two) powerful and big key light, such as a Arri Skypanel or Aperture 600
A couple fill lights, like a smaller Skypanel or Aperture
A few small flexible easy to hang lights, like Astera Titan Tubes
Lots of modifiers to bounce, remove, shape, wrap, control, diffuse, or dim the light.
A great resource when debating gear or figuring out a setup? Meet The Gaffer is a solid YouTube channel.
Lighting is an art form that can transform ordinary videos into captivating visual experiences.
By understanding the basics, leveraging different techniques, and making use of the right equipment, you can create a polished and high-quality look that resonates with your audience.
Remember to experiment, embrace creativity, or get video support from industry experts like Animus Studios.
Now, go forth and illuminate the world with your video production skills!

